Why Pruning Matters in a Hazelnut Orchard
Pruning is one of the most fundamental jobs in orchard management. Done properly, it gives the bush the air and light it needs, lowers disease pressure and raises yield noticeably. In unpruned orchards the branches crowd each other, the centre of the bush stays dark, and nut quality falls away.
Because hazelnut is a shrubby plant by nature, it produces a large number of stems and branches on its own. Left uncontrolled, that growth makes the plant spend its energy on wood that will never carry a crop. Pruning redirects that energy into fruiting wood.
What You Gain in Yield
Regularly pruned orchards can produce 20-30% more. According to Hazelnut Research Institute figures, an average yield of 80-100 kg per decare in neglected orchards can climb to 130-150 kg with regular pruning.
The benefits can be summed up as follows:
- Air circulation improves, and fungal diseases such as powdery mildew decline
- Sunlight reaches the lower branches, so the nuts ripen evenly
- Suckers stay under control and the shape of the bush is preserved
- Spray efficiency rises, because the product penetrates into the centre of the bush
- Harvest gets easier and picking takes less time
When to Prune
The Best Window
The best window for pruning hazelnut is November to February — that is, after leaf fall and before the spring sap starts moving. The plant is dormant in this period and the stress of pruning is at its lowest.
- Late November - December: You can start as soon as leaf fall is complete
- January: The busiest month of the pruning season. Our January care guide covers the pruning detail
- February: Pruning continues, but keep an eye on the pollination period. See our February care guide
- Early March: The last chance to prune (only where it cannot be avoided)
When Not to Prune
- Sub-freezing temperatures: Do not prune below -5°C. Frozen wood is brittle and the cuts will not callus over
- While the spring sap is running: Pruning between mid-March and April makes the plant bleed water
- Summer months: Cutting during active growth puts the plant under serious stress
- Wet and rainy days: Moisture turns cut surfaces into an entry point for fungal infection
Frost Risk
Prune on calm days when the frost has lifted and the temperature is above 0°C. If night frosts are still occurring, do not start early in the morning — begin in the warmth of midday.
Types of Pruning
Formative Pruning
Formative pruning is applied to young plants aged 0-5 years and gives the bush the shape you want. The two most common forms in hazelnut are:
Single-stem (tree) system:
- One main stem is selected and the other shoots are cleared away
- 3-5 main branches are kept on that stem
- The main branches should be spread evenly in different directions
- Ideal stem height is 40-60 cm
Multi-stem (bush) system:
- 3-5 main stems are kept
- The stems should be evenly spaced and facing in different directions
- Surplus stems are cut off at ground level
When pruning young plants to shape, do not overdo it — the plant’s growth vigour has to be preserved.
Maintenance (Yield) Pruning
Maintenance pruning is applied to mature plants aged 5 years and over. It is a thinning cut that lets air and light into the bush. In this type of pruning:
- Branches lying over one another are thinned out
- Branches crowding the centre are removed
- Suckers are cleared away
- Drooping branches and any touching the ground are cut
- The tips of one-year-old shoots are not cut (next year’s fruit buds form there)
The aim of maintenance pruning is an even distribution of light through the canopy. After a good job, you should be able to see the sky from underneath the bush.
Rejuvenation Pruning
Rejuvenation pruning is a radical cut used in orchards over 15-20 years old that have aged and lost productivity.
- Old, unproductive main stems are cut off at ground level
- Young, vigorous shoots are left in their place
- The work must be spread over 2-3 years; never take all of the stems out at once
- After rejuvenation the plant comes back into production within 2-3 years
Rejuvenation pruning is a far more economical way of renewing an orchard than planting a new one. But getting the technique right is critical.
Pruning Technique
Which Branches Should Go?
The order of priority in pruning is:
- Dead and dry branches — clear them out straight away
- Diseased branches — cut back into healthy tissue, and take the cut material out of the orchard
- Suckers — cut them off flush at soil level
- Crossing branches — remove one of the pair (the weaker one)
- Branches growing into the centre — take out whatever blocks air circulation
- Strongly vertical branches (water shoots) — clear away vertical shoots that carry no crop
- Drooping branches — those that get in the way of harvest and orchard work
Cutting Angle and Method
Correct technique speeds up wound healing and reduces disease risk:
- Cutting angle: Cut at a 45-degree angle, parallel to the branch collar
- Distance: Leave 0.5-1 cm clear of the collar and do not damage the collar itself
- A clean cut: The cut face should be smooth; avoid tearing and ragged breaks
- Thick branches: Make an undercut first, then finish from above (this prevents the bark stripping)
- Secateurs: For branches up to 2 cm
- Pruning saw: For branches over 2 cm
Using Wound Sealant
- Always apply wound sealant to cuts thicker than 2 cm
- The sealant protects the cut face from fungi and moisture
- Ready-made pruning sealants are widely available
- As an alternative, the wound can be closed with Bordeaux mixture
- Thin branches do not need sealant; the plant uses its own healing mechanism
Pruning Tools and Disinfection
The basic tools used in pruning:
| Tool | Where it is used | Feature |
|---|---|---|
| Secateurs | Branches 0-2 cm | One-handed, the most frequently used tool |
| Loppers (long-handled) | Branches 2-4 cm | Two handles, more leverage |
| Pruning saw | Branches 4 cm and over | Thick branches and stem cuts |
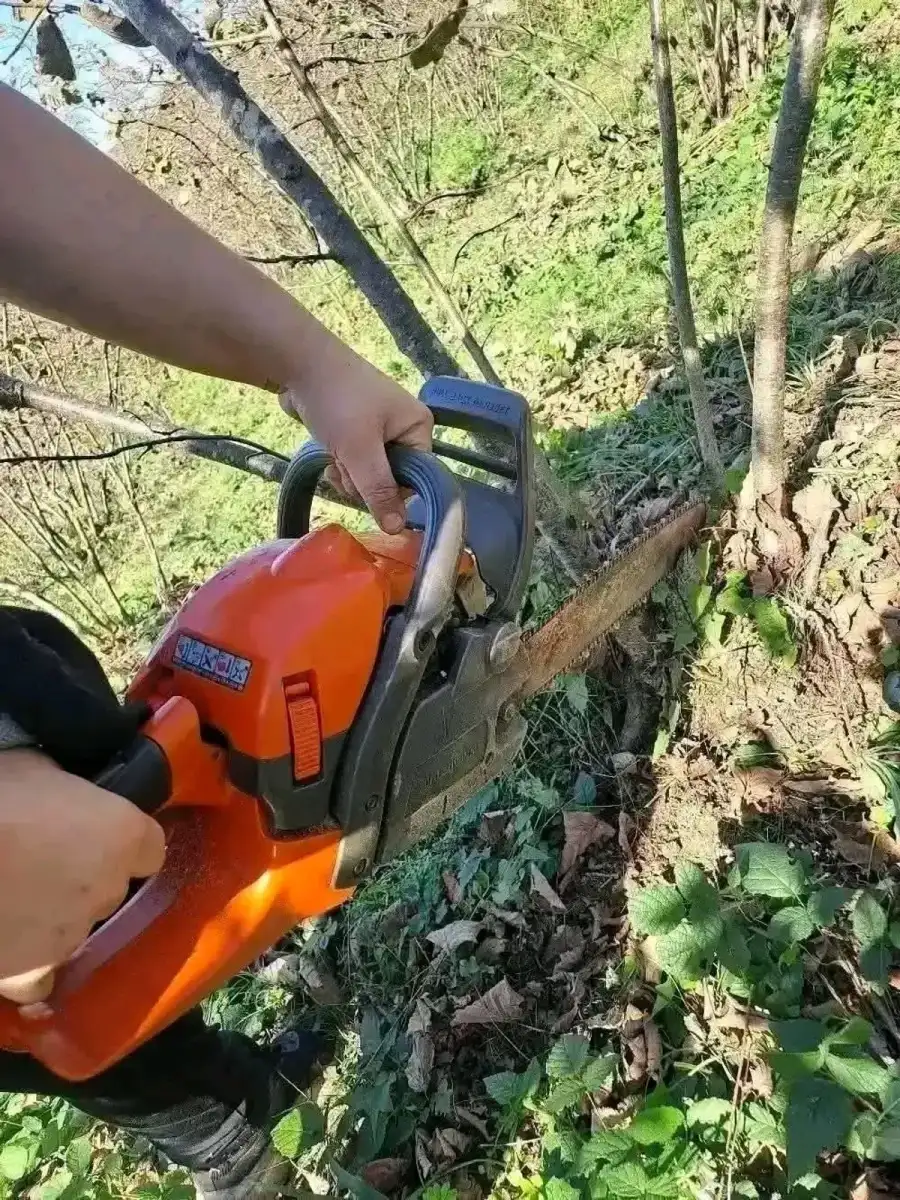
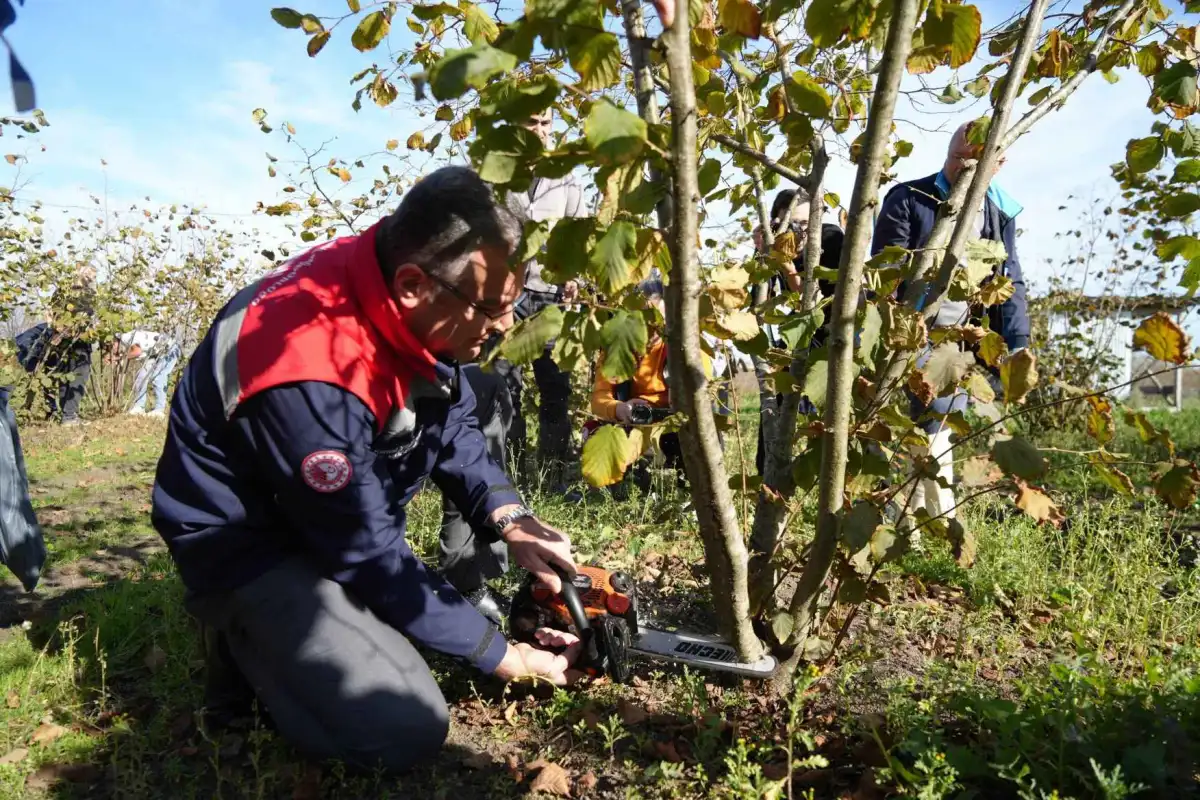
| Chainsaw | Rejuvenation pruning | Large stem removal |
| Ladder | High branches | Choose aluminium — light to move |
Disinfecting Your Tools
Disinfect your pruning tools between every bush. Wipe them with a 10% bleach solution or 70% alcohol. This simple step stops disease travelling from one plant to the next. After cutting a diseased branch, disinfection is mandatory.
Keeping tools sharp matters just as much. Blunt tools crush the wood instead of cutting it cleanly, which delays healing and raises the risk of infection.
Common Mistakes
Avoid These Mistakes
1. Over-pruning: Taking out more than 30% of the plant in one go puts it under serious stress, yield drops the following year, and the plant responds by throwing out excessive shoots.
2. Wrong timing: Pruning after the spring sap has started moving makes the plant lose water and weakens it.
3. Leaving the suckers: Suckers that are not cleared compete with the main stems for nutrients and pull the yield down.
4. Pruning without disinfecting: The risk of carrying pathogens from a diseased plant to a healthy one is very high.
5. Bad cuts: Cuts that damage the branch collar never heal and lead to rot.
Other frequent mistakes:
- Cutting the tips off fruiting wood: In hazelnut the crop comes from buds at the tips of the previous year’s shoots. Cut those tips off and that branch carries nothing for a year
- Pruning only the top: Working the top of the bush while ignoring the lower and inner branches distorts its shape
- Leaving prunings in the orchard: Cut branches, especially diseased ones, must be removed from the orchard or burned
Conclusion
Pruning hazelnuts takes patience and knowledge, but it repays the effort many times over. Done at the right time with the right technique, it keeps your orchard productive for years.
In summary:
- Prune between November and February, and pick frost-free days
- Never take out more than 30% of the plant in a single season
- Keep your tools disinfected and sharp
- Always clear the suckers
- Apply wound sealant to large cuts
- Spread rejuvenation pruning over 2-3 years
For the full picture of hazelnut orchard management, see our hazelnut guide. For the pruning work in January and February, follow the January care calendar and the February care calendar.
📚 Hazelnut Research Institute 📚 Gursoy Hazelnut📚Sources
Related Guides
View all Care & Pruning guides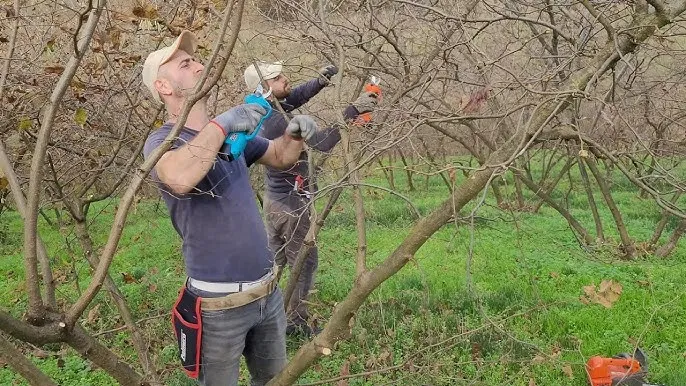
January Hazelnut Care Guide
Winter pruning, sucker removal, dormant-season spraying, soil sampling, snow damage checks and infrastructure repair in the hazelnut orchard in January. Guide supported by official sources.
February Hazelnut Care Guide
Pruning, fertilization, pest spraying and pollination monitoring in the hazelnut garden in February. Guide supported by official sources.
More Care & Pruning Guides
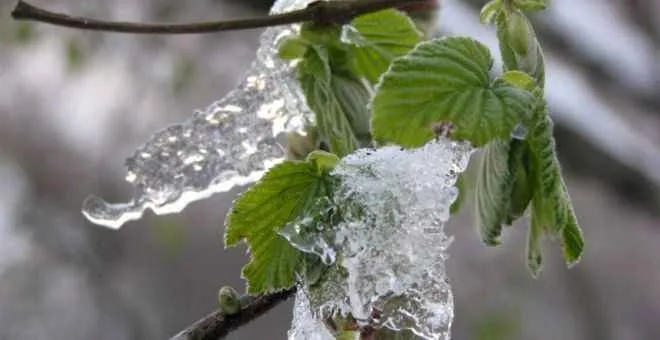
How to Protect Hazelnut Orchards from Frost Damage
Frost protection methods for hazelnut orchards: temperature thresholds, active protection techniques, frost-resistant varieties, and cultural prevention measures.
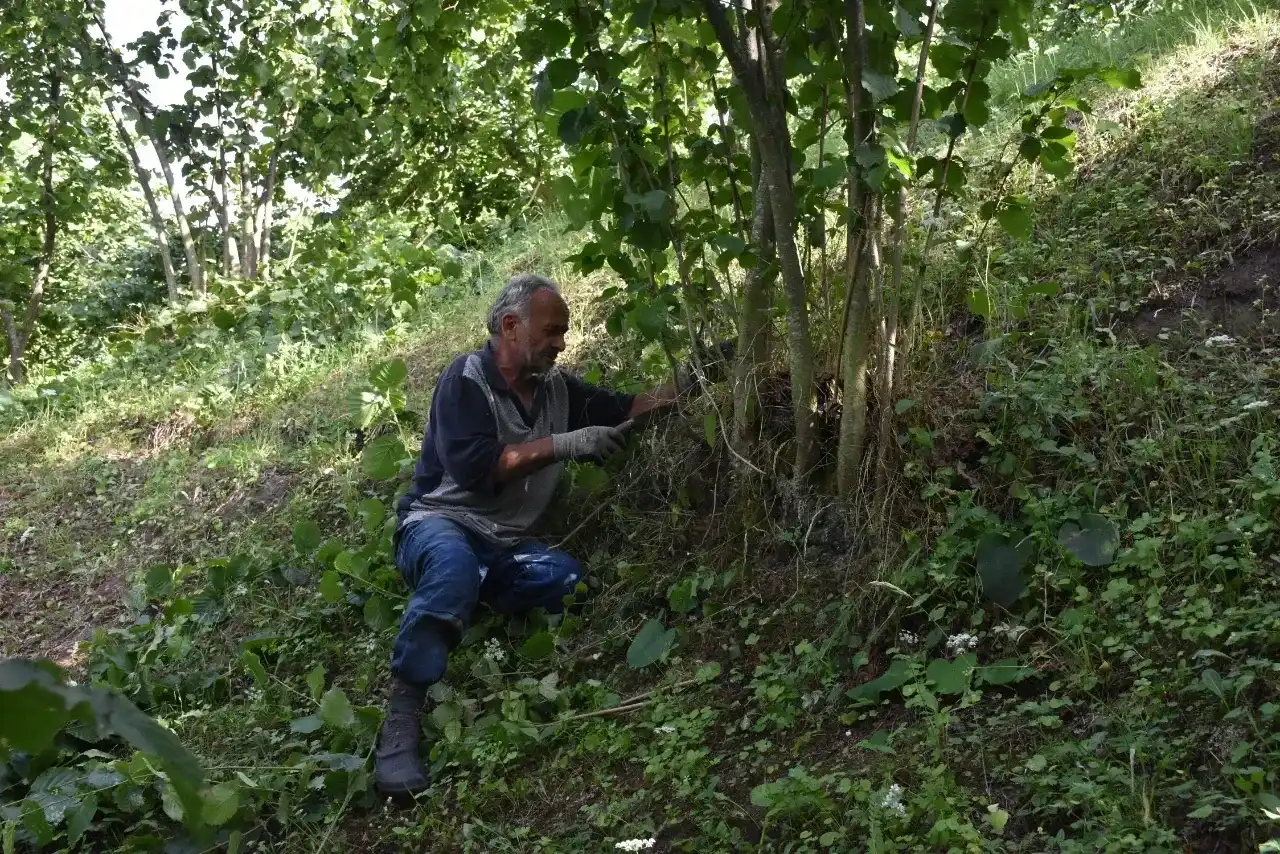
Hazelnut Harvest Guide: Picking, Husking and Drying
When hazelnuts are ready to pick, harvesting methods, husking and drying technique, plus harvest dates by region and correct storage.
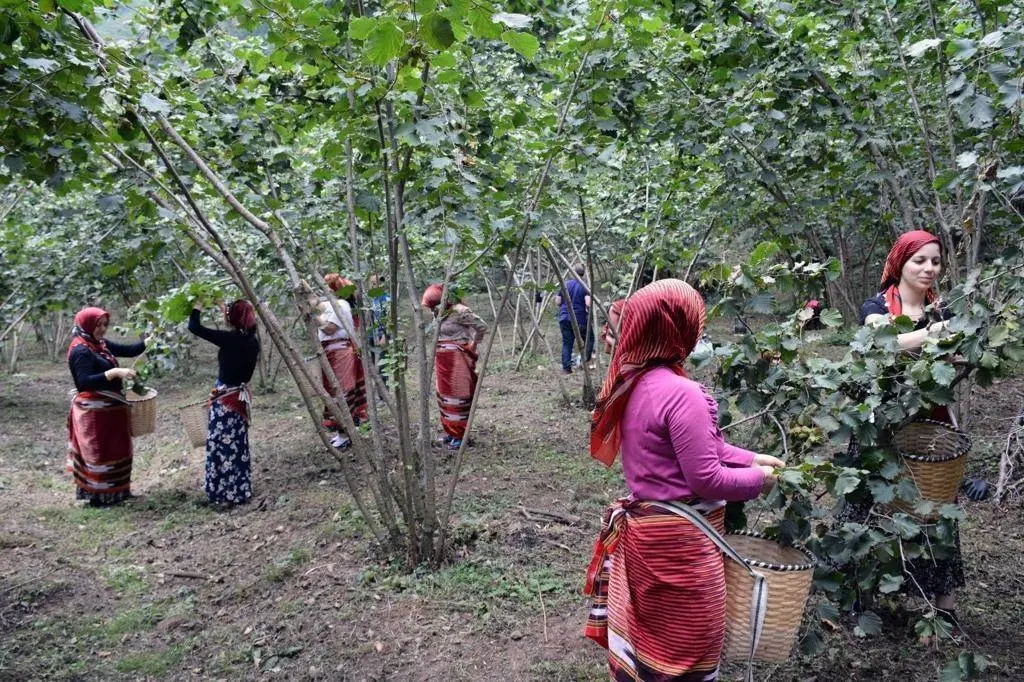
Hazelnut Growing Guide: From Planting to Harvest, Step by Step
A complete guide to growing hazelnuts. Pruning, fertilization, pest control, harvest and market knowledge — everything a hazelnut grower needs on a single page.