Hazelnut Care & Pruning
Hazelnut orchard care, pruning techniques, irrigation and general cultivation guide.
4 guidesCare and pruning is the category that quietly determines what everything else in the orchard costs you. An open, well-shaped bush dries faster after rain and gets less powdery mildew, lets spray reach the inside of the canopy, ripens its crop evenly and is quicker to harvest. A crowded one does the opposite on every count, and no fertilizer programme or spray schedule can compensate for it.
The frost protection guide is currently the article available in English here: how to protect hazelnut orchards from frost damage. The dedicated pruning guide, the harvest guide and the general hazelnut growing guide are published in the Turkish edition of this site. Between them, the January, February and March care guides cover the winter pruning season in working detail, including which days to cut on and which to wait out.
The sections below set out the reasoning behind those jobs: why a bush is pruned differently from a tree, how care changes as the orchard ages, why pruning is also disease management, and what has to happen either side of harvest.
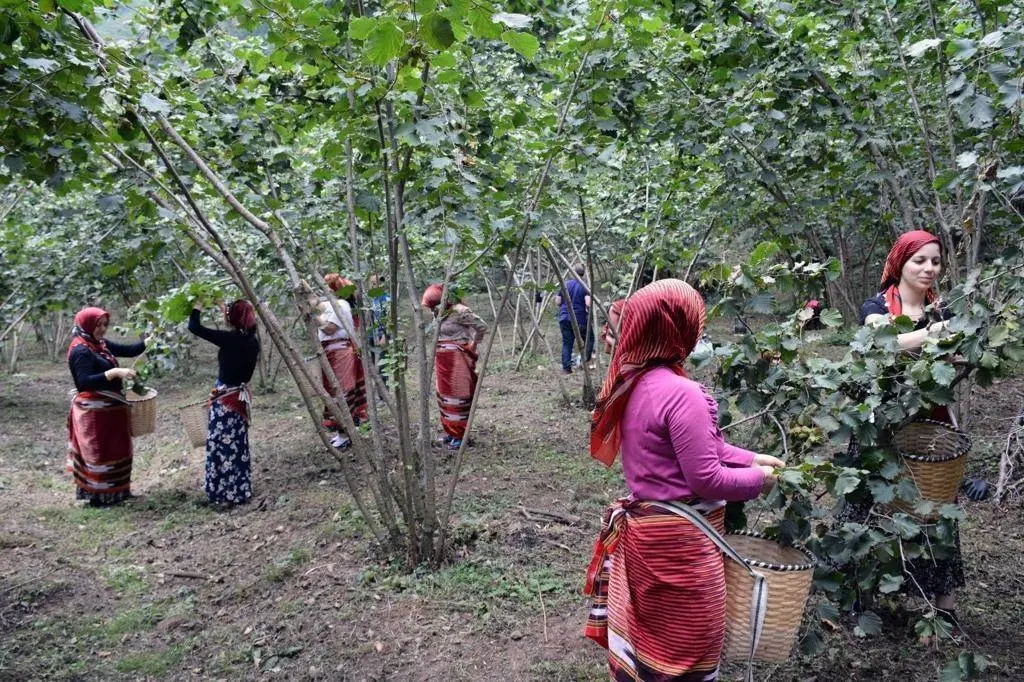
Hazelnut Growing Guide: From Planting to Harvest, Step by Step
A complete guide to growing hazelnuts. Pruning, fertilization, pest control, harvest and market knowledge — everything a hazelnut grower needs on a single page.
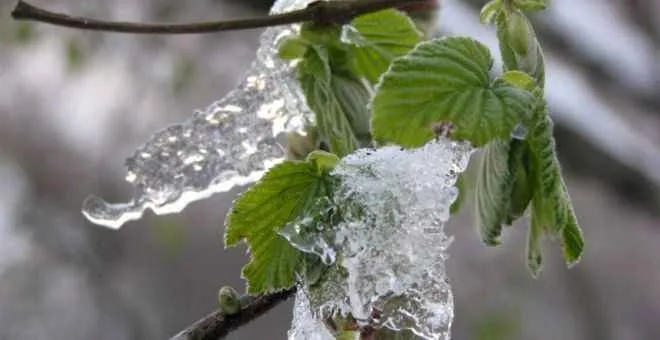
How to Protect Hazelnut Orchards from Frost Damage
Frost protection methods for hazelnut orchards: temperature thresholds, active protection techniques, frost-resistant varieties, and cultural prevention measures.
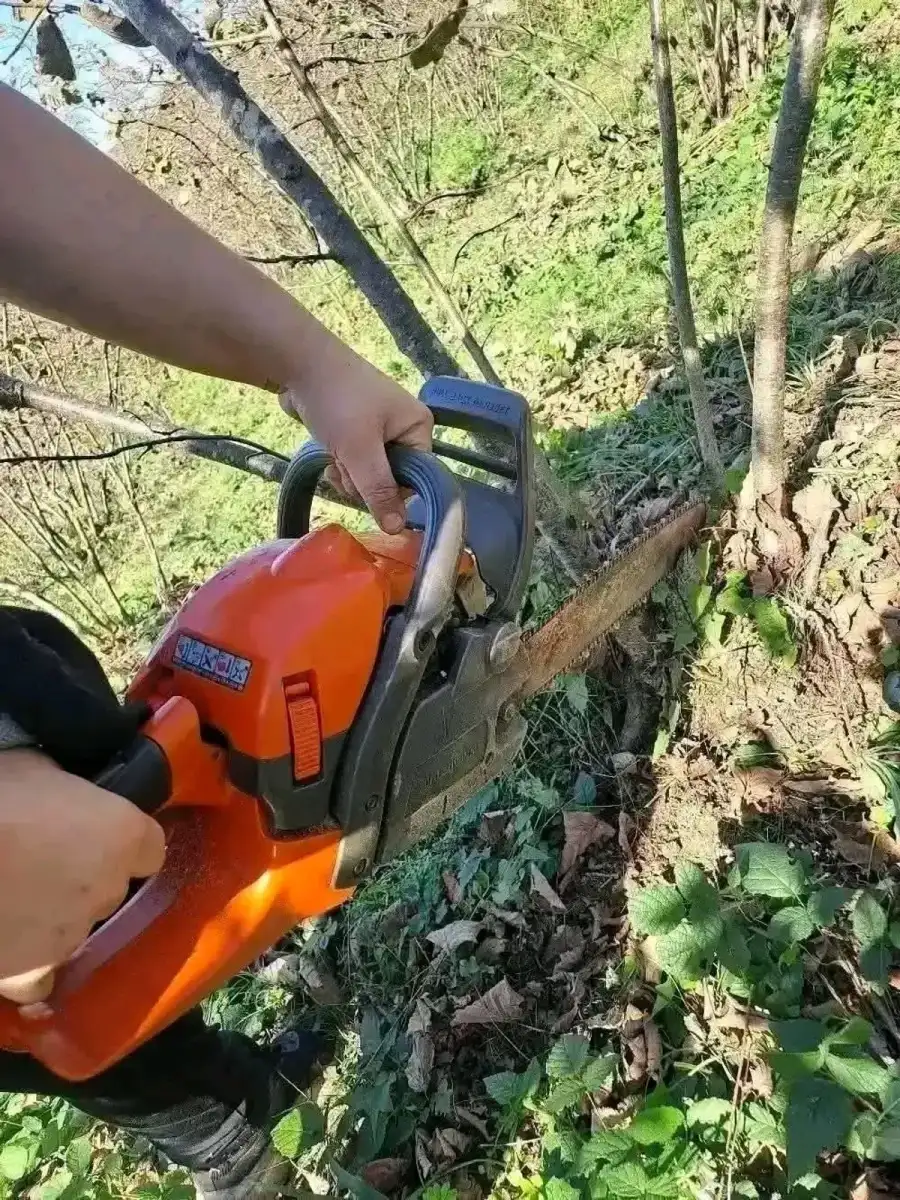
Hazelnut Pruning Guide: Prune Correctly, Harvest More
When to prune hazelnuts, the three pruning types — formative, maintenance and rejuvenation — plus cutting technique, tools, disinfection and the mistakes that cost yield.
Hazelnut Harvest Guide: Picking, Husking and Drying
When hazelnuts are ready to pick, harvesting methods, husking and drying technique, plus harvest dates by region and correct storage.
Hazelnut Is a Bush, Not a Tree - and That Changes Everything
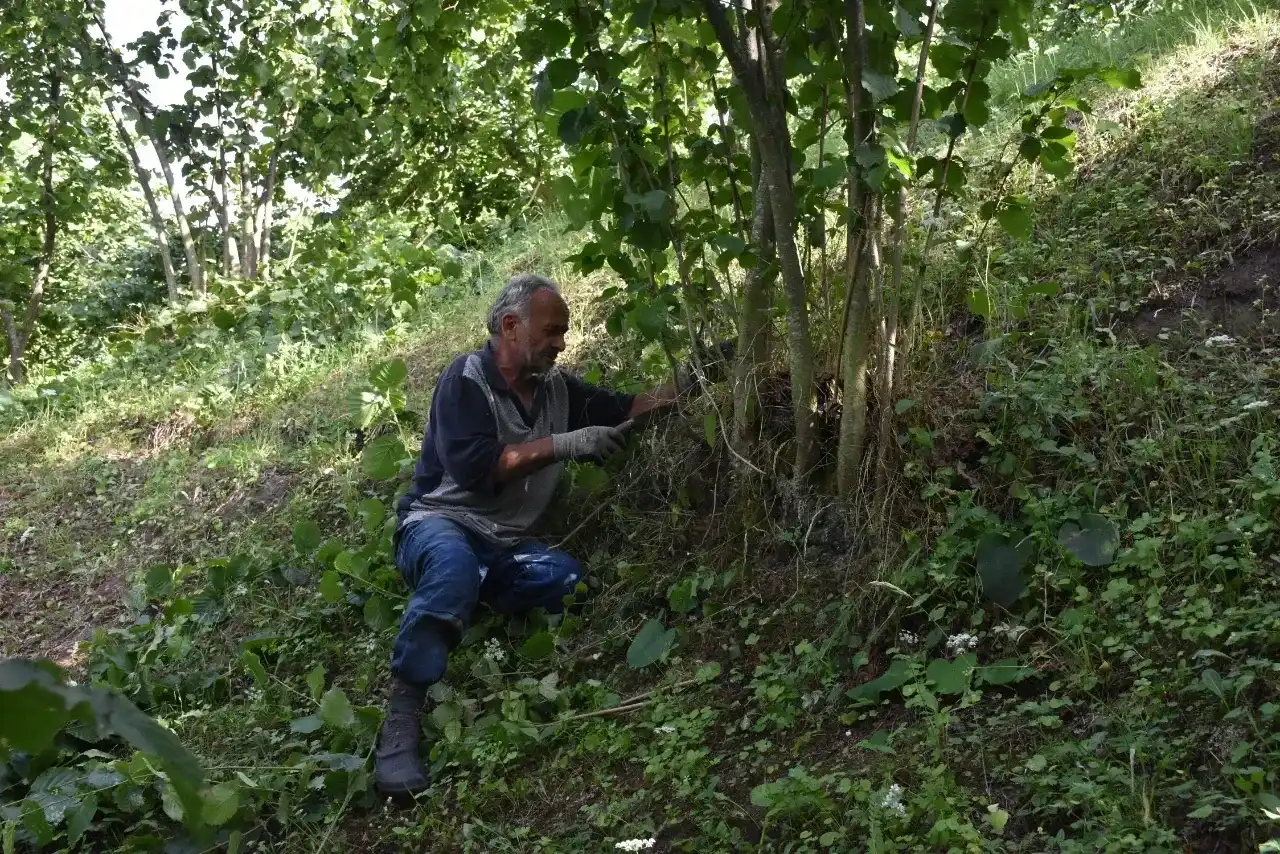
Hazelnut grows naturally as a multi-stemmed bush, throwing new shoots from the root crown throughout its life. Formative pruning works with that habit rather than against it, selecting and keeping a small number of main stems - commonly three to five - and removing the rest. Suckers are not a nuisance to tidy up at leisure: left alone they crowd the stool, block light and air, and divide the water and nutrients that should be going to productive stems. Cut them at ground level, because a stub left 10-15 cm above the soil simply pushes out several new shoots in spring.
The second habit that governs everything is where the crop forms. In hazelnut the nuts come from buds at the tips of the previous year's shoots, so shortening those annual shoots removes next year's crop from that branch. Tipping the growth is the single most common pruning mistake, and it is committed most often by growers used to fruit trees, where heading cuts behave completely differently.
Timing follows from the plant's dormancy. The window runs from late November, once leaf fall is complete, through the peak month of January and into February, with the first ten to fifteen days of March as a last chance. After that, bud burst and the rise of spring sap close it. Do not prune below -5°C, when frozen wood turns brittle and the fibres tear instead of cutting; do not prune on wet or foggy days, when the open wound is an invitation to fungal spores; and do not prune in summer, when the bush is in active growth.
Care Changes With the Age of the Orchard
In a young planting the work is structural. Saplings go into holes prepared the previous autumn, typically 50x50x50 cm, with spacing of 5-6 m between rows and 3-4 m within them; planting finishes by mid-March so the roots establish before shoots start. Two or three compatible varieties in the orchard improve pollination, and support stakes are worth the trouble on exposed sites. This is also the period of highest disease risk: bacterial blight is at its most destructive between one and eight years of age, when a canker can girdle a young trunk and kill the plant outright.
In a productive orchard the annual routine settles down: remove dead, broken and diseased wood first, thin branches that cross, rub or close off the centre, take out suckers, and seal cuts thicker than about 2 cm. The restraint that matters most is volume - never remove more than about 30% of the canopy of one bush in a single season. A bush stripped back hard responds with a mass of vigorous, unproductive vegetative growth and loses more than it gains.
Ageing orchards need rejuvenation rather than maintenance, and it is best done gradually. Replacing worn-out stems with strong young ones over several seasons keeps the bush cropping while the new framework builds, whereas a single drastic cut sacrifices years of yield. In every age class the same two rules apply: cut back to the branch collar without damaging it and without leaving a stub, and take the prunings out of the orchard rather than stacking them at the edge.
Pruning, Yield and Disease Are the Same Conversation
Every benefit of pruning is also a disease measure. Air circulation through an open canopy shortens the time leaves stay wet, which is directly a reduction in fungal disease pressure - the powdery mildew guide names a crowded canopy as a factor that increases disease severity. Light reaching the lower branches evens up ripening. Spray penetrates to the inside of the bush instead of coating the outer shell. Harvest goes faster. None of that shows up as a single line in the accounts, but all of it does.
Hygiene during pruning matters as much as the cuts themselves. Disinfect shears and saws between bushes, and treat that as compulsory after working on a bush showing canker or bacterial blight symptoms. Cut cankered wood well below the visible margin, and destroy the material rather than leaving it in the orchard, where it becomes an overwintering site. See hazelnut diseases for the specifics on how far below an infection to cut.
The relationship runs the other way too. Heavy pruning combined with heavy nitrogen produces exactly the soft, watery growth that frost and infection exploit, so the pruning plan and the fertilization plan need to be made together rather than by different logic. Balance, not maximum vigour, is what a productive hazelnut bush is being managed towards.
Before and After Harvest
Harvest preparation starts at least a couple of weeks before the first nuts come off. Mow or strim the ground cover under the bushes, clear stones, fallen branches and leaf debris, level anywhere water pools, and open up the orchard tracks. Seasonal labour should be arranged a month ahead, and the thresher, drying area and sacks checked before you need them. Ripeness is judged from the crop itself: the green husks begin to brown, the husk tips curl and open, the nuts loosen and drop at a touch, and the first nuts start falling naturally.
After picking, speed decides quality. Threshing should follow within 24-48 hours; leave it longer and the husk sticks to the shell and quality drops. Drying takes three to five days in good sun, and nuts go into storage below 6% moisture - damp nuts mould. Store in jute or other breathable sacks, never plastic, on pallets and about 10 cm clear of the walls, in a cool, dry, ventilated space, and check periodically for moisture and mould.
Post-harvest is also the start of the next season rather than the end of this one. Late August to early September is when the first protective copper application goes on, before the autumn rains begin; September-October is the best window for soil sampling; shallow cultivation under the bushes exposes overwintering weevil pupae; and pruning can begin from November. Frost planning belongs in this stretch too - identifying the hollows where cold air pools and checking equipment long before you need it, as set out in the frost protection guide.
When to prune a hazelnut bush - and when to put the shears down
| Period or condition | Prune? | Reason |
|---|---|---|
| Late November - December, after leaf fall | Yes | Reserves have moved into roots and trunk; the framework is visible |
| January, dry day above 0°C | Yes - the peak month | Lowest energy cost to the plant and the widest working window (January guide) |
| February | Yes, with care | Continue pruning, but watch for late frosts and the start of pollination (February guide) |
| First 10-15 days of March | Last chance only | Finish outstanding work before buds burst (March guide) |
| After mid-March | No | Spring sap is rising and buds are breaking; late cuts cost yield |
| Summer, during active growth | No | Severe stress on the bush at its most demanding time |
| Below -5°C, or frozen and snow-laden branches | No | Frozen wood is brittle, fibres tear and the wound will not callus |
| Wet, rainy or foggy days | Postpone | A wet cut surface is an open door for fungal infection |
Frequently Asked Questions
How many main stems should I keep on a hazelnut bush?
Formative pruning generally leaves three to five main stems per stool. That gives enough productive framework to carry a crop while keeping the centre open to light and air. Everything else that comes up from the root crown is a sucker and is cut at ground level, ideally in winter when the bush is leafless and it is obvious which stem is which.
Why should I not cut the tips of the annual shoots?
Because that is where next year's crop is. In hazelnut the nuts form from buds at the tips of the previous year's shoots, so shortening those shoots removes the fruiting wood and that branch produces nothing the following season. Thin whole branches out at their base instead of shortening the young growth.
How much of the canopy can I safely remove in one winter?
Keep to roughly 30% of the canopy volume of a bush in a single season. Beyond that the plant is weakened and responds with vigorous vegetative regrowth rather than crop. If the bush needs more work than that, spread it over two or three seasons - which is also the right approach to rejuvenating an old orchard.
Do I need to use wound sealant on every cut?
Not on every cut, but it is recommended on the larger ones - cuts thicker than about 2 cm leave a wound big enough to matter. Cut on a dry day, leave a smooth surface at the branch collar without a stub, and apply the sealant to the fresh cut. Just as important, disinfect the tool before moving to the next bush.
How do I know the nuts are ready to harvest?
Look at the husks rather than the calendar. The green husks start to turn brown, the husk tips curl and open, the nuts loosen inside them and drop at a light touch, the shells reach a firm brown colour, and the first nuts begin falling naturally. Regional dates vary by one to three weeks depending on altitude, climate and variety.
How long can harvested nuts wait before threshing?
24-48 hours. Beyond that the husk begins to stick to the shell and quality falls. After threshing, dry for three to five days in the sun down to below 6% moisture, then store in jute or other breathable sacks - never plastic - on pallets, about 10 cm clear of the walls, in a cool and well-ventilated store.
Download Findik App
Download the Findik app for job listings, team building and more.